How to Hang a Plant from the Ceiling
February 27, 2023If you’re looking to bring some life into your home, hanging a plant from the ceiling is an easy and stylish way to do it. Not only does it look great, but it also provides your plant with more room for growth while preserving valuable floor space. Plus, ceiling planters are an ideal way to keep your greenery away from pets and children. With the tips below, you’ll be able to hang a planter from the ceiling with ease.
Materials for Hanging Your Ceiling Plant
- Planter
- Rope/Strap/Chain
- Hook
- Plant Hanger
- Stud Finder
- Power Drill
- Drill Bit
- Step Ladder
Here’s How to Hang Your Ceiling Planter:
Step 1: Choose Your Planter
The first step is to pick out your planter. We recommend getting a lightweight planter to lessen the load on your ceiling hook. The hook, cord, and hanger should all be able to support the weight of your potted plant. Also make sure your planter is the right size for your pot. Finally, your ceiling planter should be aesthetically pleasing and complement the surrounding décor.
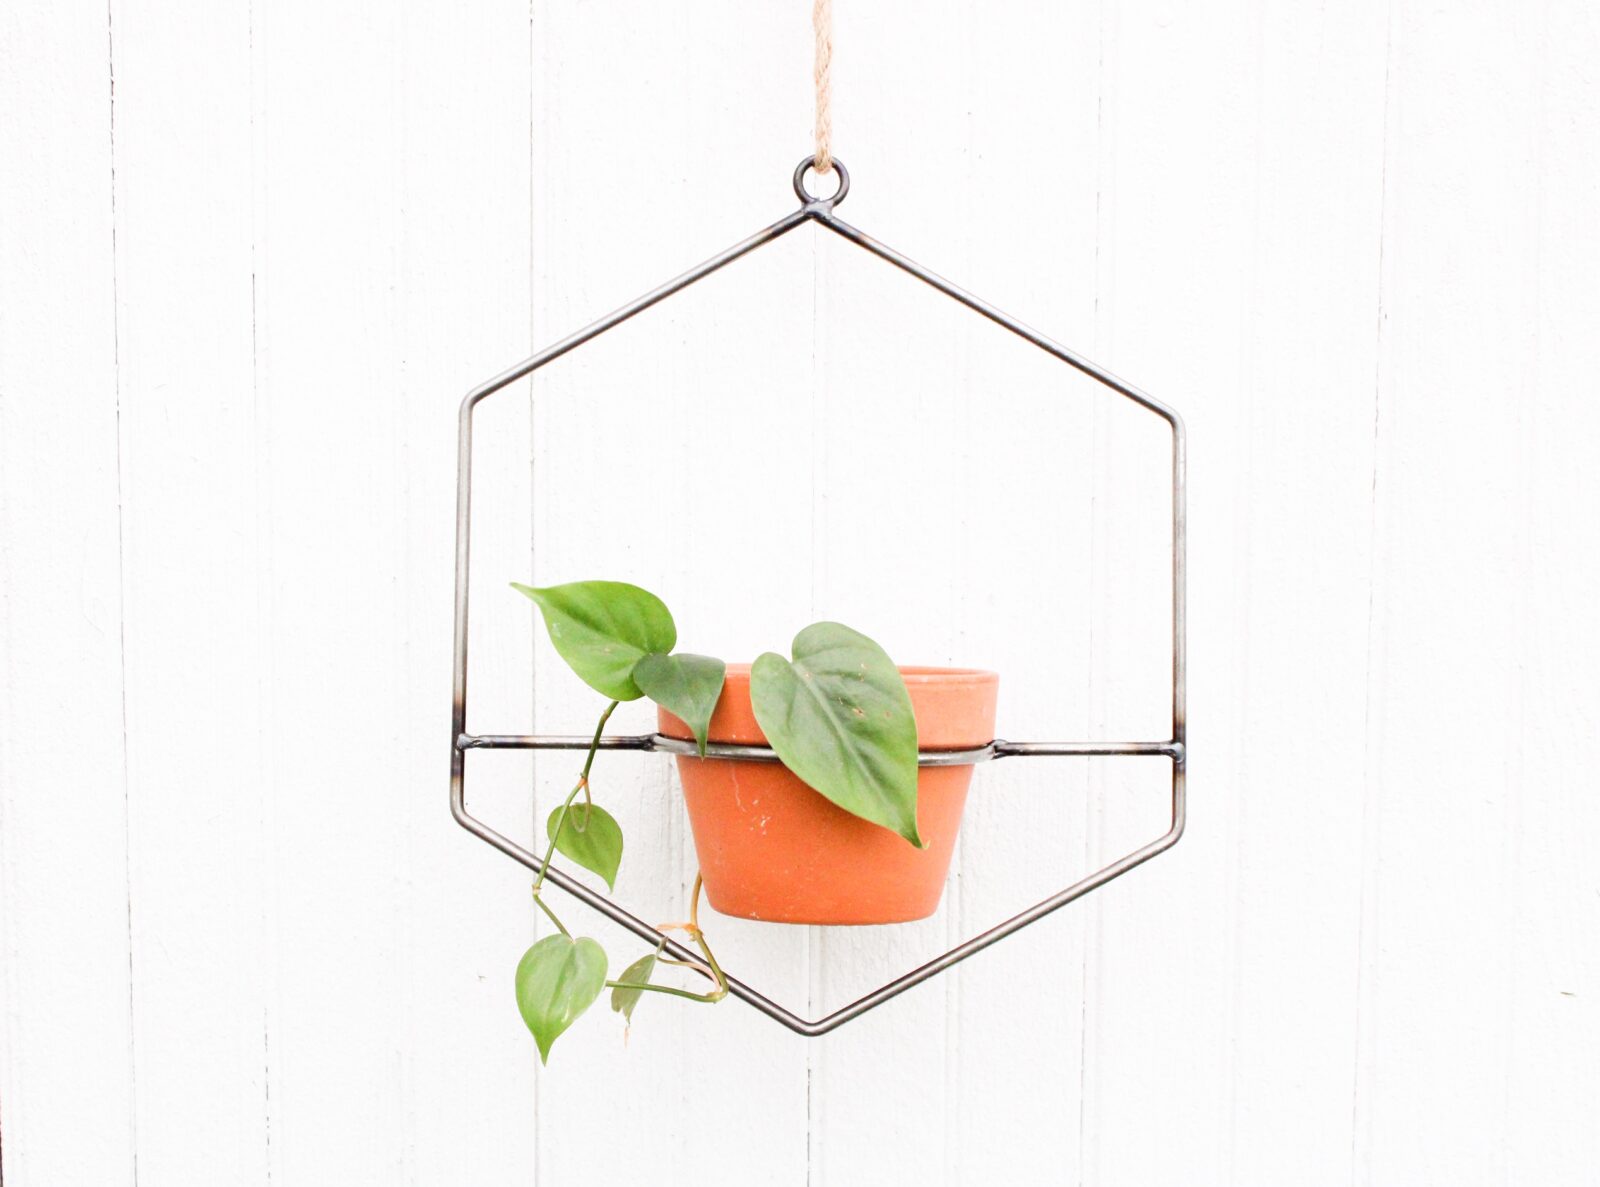
Timber Made offers beautiful handmade metal planters that blend in with virtually any environment. These sturdy, lightweight accessories come in a variety of artistically styled shapes, including hexagon, triangle, and circle shaped planters. They are available in sizes ranging from 11” to 14” in diameter and accommodate a wide range of pot sizes. Each metal planter is sealed with a protective clear coat and includes a 26” braided rope for hanging.
Once you have selected a planter, move on to step two.
Step 2: Measure and Mark the Ceiling Area
Now that you’ve chosen your planter, take a look at your room’s décor and find a spacious area that not only accommodates your plant, but also works well with the rest of your furnishings. Keep both the width and the height of the plant in mind: You want to have enough head space to walk under the plant, unless it is near a wall or window. You also want to make sure that it’s low enough for you to water.
Measure and mark exactly where you want your plant hung on the ceiling. We recommend using a leveler or ruler while performing this step; this will ensure accuracy when drilling. Before you drill, we also suggest using a stud finder to locate joists and identify hollow spots inside your ceiling; drilling into the joists will improve the stability of your planter. If you have a drywall ceiling, use special drywall anchors. Once you’ve marked the spot with a pencil, move on to step three.
Step 3 (Optional): Attach Hangers to Your Planter
This step is not always required; if your planter comes with a hanger (as is the case with Timber Made’s metal hanging planters), move on to step 4. Otherwise, you will need to attach hangers directly onto the planters using screws. Make sure that these hangers match up with holes in the ceiling anchor once installed so that they can be securely attached.
Step 4: Drill into the Ceiling and Attach the Hooks
After you have measured and marked where you want to hang your plant, you are ready to start drilling. Drill a pilot hole with a 5/8” drill bit or choose the right size bit for your hook. If you’re hanging your planter from a ceiling joist, choose a drill bit that is a bit smaller than the threads on your screw hook. If hanging from drywall, go with a bit about the size of the top of your closed toggle bolt. As you drill, carefully follow the pencil marks from step 2. Be sure not to drill too deep, as you don’t want to damage any wiring or plumbing within the ceiling cavity.
Now all that’s left is to attach the hooks into each drilled hole, securing them firmly with screws. These hooks will be used for hanging your planter.
Step 5: Hang Your Plant
You’re finally ready to hang your plant! Depending on what type of plant holder you’ve purchased, there may be additional hardware such as ropes, straps, or chains. If not, you will want to attach one of these to the top of the planter to dangle from the hook.
Timber Made metal plant hangers are equipped with a heavy-duty rope to provide extra support when hanging your plant. The rope is braided for visual appeal and is adjustable, so you can go as high or low as you want.
Step 6: Enjoy!
All done! Congratulations – you can now sit back and take in the beauty of both your plant and planter.
Conclusion
Hanging a plant from your ceiling can add a unique touch to your living space – whether it’s inside your living room or on your porch or patio. With these steps, you’ll have your plant up in no time. Make sure to check out Timber Made’s metal hanging planter selection today. These handcrafted planters are not only durable and easy to hang, but are also visually appealing and make great conversation pieces.
If you have any questions, please don’t hesitate to contact our team here at Timber Made. We’re always happy to help! You can reach us at 717-203-4779 or email us at [email protected].